 |
Calibration method for Projector using Checkerboard |
IntroductionGML C++ Camera Calibration Toolboxhas been improved to allow the calibration of the projector. This section describes how to use it.MeasurementFirst, perform measurement.Print the cyan and white check pattern on paper and paste it on a flat plate. Holding this plate, project a yellow and white check pattern on the plate from the projector (if the pattern is too big, use this small pattern). Take pictures by changing the angle of the plate.(To obtain accurate results, it is better to take more than 30 measurements) Save the images as bitmaps.For measurementFor the calibration of the projector, arrangement of the camera and the projector is as shown below. The camera should be located as close as possible to the pattern. (To help you find the corner points,) shorten the distance between the camera and the projector, when you get the images (to increase the accuracy of the intrinsic parameters. 

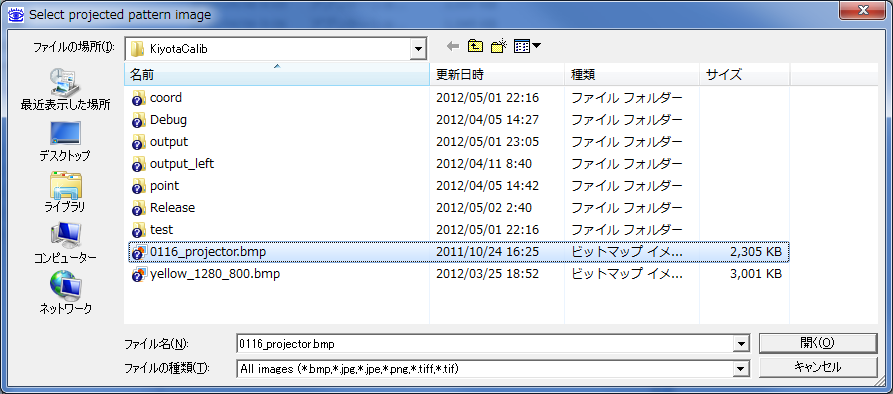
Create ProjectStart GML camera calibration.exe, then the "file -> New Project" to create a project that you choose. (You can also create a project by clicking the blank icon at the far left.)Setting the pattern used for calibrationIf the pattern is downloaded from this page, just press OK, as the default values are automatically applied. If not, change the parameters accordingly.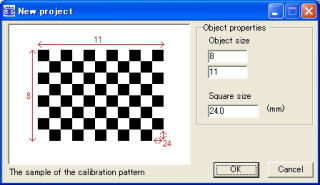 Project pattern selectionSelect the blue icon, then the window will open to specify the images.Here , specify the yellow and white check pattern, which is projected form projector for measurement.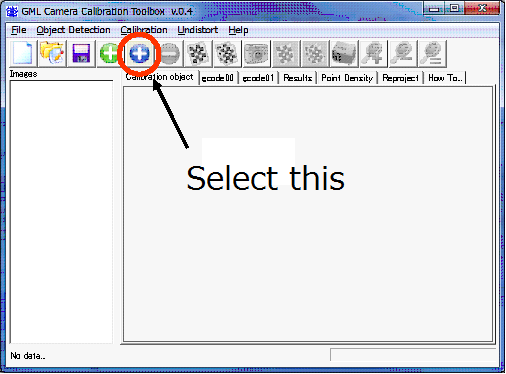
 Adding ImagesNext, add the images taken for calibration. After selecting projection pattern image, the window moves to "select images" automatically.Select the captured images you would like to apply. As multiple selection is possible, you can select all the captured images.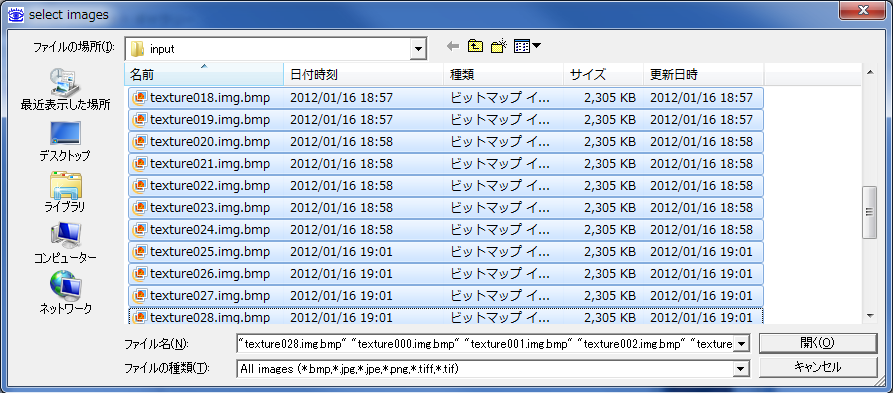
Corner detectionBY pressing "red check pattern" icon, corner detection can be done for all captured images. If the corner detection is successful, the color of the file name turns to blue. If the corner detection is in failure, the file name turns to red.
Camera and Projector CalibrationPress the projector icon, then "Results" tab displays the parameters for the projector. The camera we use for measurement also can be calibrated.The size of the projected image from the projector is hard-coded as 1024*768. 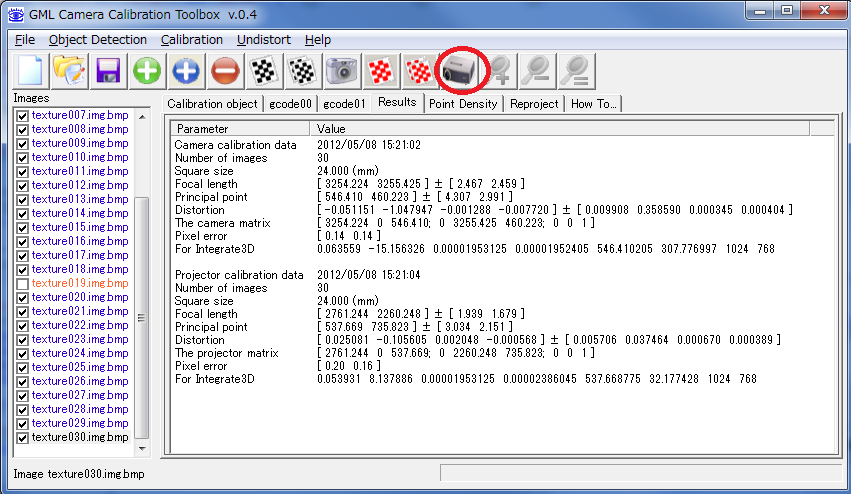
DownloadGML C + + Camera Calibration Toolbox 0.4 for the rewrite of the projector (binary)For Windows download 2012.1.27 Publications
|
| Kawasaki Laboratory |